How to Replace Motherboards the Right Way
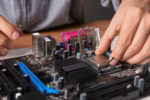
Learning how to replace motherboards is essential for DIY computer build upgrading.
It is also important when disassembling your computer parts for transfer to a new PC case.
If you already know how to install a motherboard, you might already understand that motherboard replacement is tantamount to the installation process.
However, you would have to reverse and repeat many steps, as the motherboard holds all of the other PC components.
Without removing all of them, you wouldn’t be able to remove and replace the motherboard completely.
Reasons for Replacing a Motherboard
Why would you want to replace a motherboard in the first place?
If you have been using a motherboard for several years, either it can get damaged, or it just can’t keep up with upgraded components.
Otherwise, the only reason to change motherboards is you would want to upgrade your system deliberately and install a top motherboard.
Another reason for learning how to change a motherboard is you are new to PC building, and you would want to practice to get the hang of it and make it a hobby.
ALSO READ: How To Tell if Motherboard Is Dead
Damaged Components
When a motherboard or any of its components are damaged, then it might be time to hit the tech shelves and find a replacement.
Diagnosing and fixing motherboard problems can be very tricky when you’re not sure if your motherboard is damaged or not.
Some indications of a faulty motherboard include very slow startup, unreliable peripheral devices, odd display behavior, unreadable external drives, repetitive blue screens, and burning plastic smells.
Any of these indicators could suggest that you may need a motherboard replacement anytime soon.
Deliberate Upgrades
A motherboard doesn’t have to be broken before you upgrade it.
You might want a newly released model, and you have the cash to spend.
So who’s to stop you from getting the best components as soon as they hit the shelves?
Better Processor
Some processor upgrades may require further improvements to your system.
If you have been an avid PC game player for some time, you would know that not all motherboard and CPU pairings are good combinations.
Some combinations will not even work at all. Always remember that an Intel processor requires an Intel chipset while a Ryzen processor needs an AMD chipset.
You may keep your existing motherboard as long as you bought a compatible CPU, but you might still want to upgrade the board to maximize the speeds of your brand new CPU.
Faster Memory
Like new processors, faster memory speeds cannot be attainable if an existing motherboard can’t support them.
An old motherboard may still be using DDR3 DIMM slots that cannot support DDR4 or DDR5 modules.
If you want to tag along with the fastest memory speeds available, you will definitely need to replace your motherboard with something that supports those modules.
Better Expansion Options
Another reason to change or replace your motherboard is if you need more or better expansion slots.
The best expansion slots in use today are the PCI Express lanes.
While some motherboards still have ISAs, AGPs, and PCIs, choose a motherboard with more PCI Express slots.
PCIe slots communicate with the CPU faster and more efficiently than other expansion slots, maximizing the speeds of graphics cards and other expansion cards.
The Necessity for Faster Data Transfers
Modern motherboards allow faster data transfers between hardware components and storage devices.
As innovations allow faster data transfer speeds on motherboards, computer users tend to replace their older boards with faster ones.
PC Building Practice
The best way to learn how to change a motherboard is through practice.
You don’t have to wait for a motherboard to be broken or damaged before you start learning how to replace it.
Can You Just Replace a Motherboard?
Yes, and no. Compatibility is the primary issue here, and the other problem is the retention of operating system profiles.
Be sure that all of your existing hardware components are compatible with the motherboard replacement you are getting.
Incompatible motherboards can result in hardware strain and unnecessary data loss.
Some sources would say you can replace a motherboard and expect zero problems as long as you replace it with the exact same model.
However, it will also help you decide if you can determine whether your device's operating system comes with an OEM, Retail, or Volume license.
Check out our article about upgrading motherboards without reinstalling Windows 10.
What Will Happen If You Replace a Motherboard?
Unless a Windows license gets in the way, it depends on whether the replacement has the same model and version or an entirely different motherboard.
Exact Same Model
If you replaced a motherboard with the exact same model as the existing one and did not alter any settings on the first one, nothing different happens upon reboot.
The computer will start as if you did not change anything.
However, you have to reconfigure any settings done on the first board into the new one.
Different Models
There are so many motherboard models mixing up the various chipsets compatible with processors.
If you are replacing a motherboard with a different model, but it has the same chipset as the old one, Windows may boot as usual.
But if you are replacing it with a board using a different chipset, Windows may detect hardware changes and require driver installations.
Incompatible Models
Using a new motherboard that is incompatible with your old hardware, especially the CPU, will result in startup malfunctions such as the renowned blue screen of death (BSOD).
Even the best-ranking motherboards won’t let your system boot normally if compatibility is an issue.
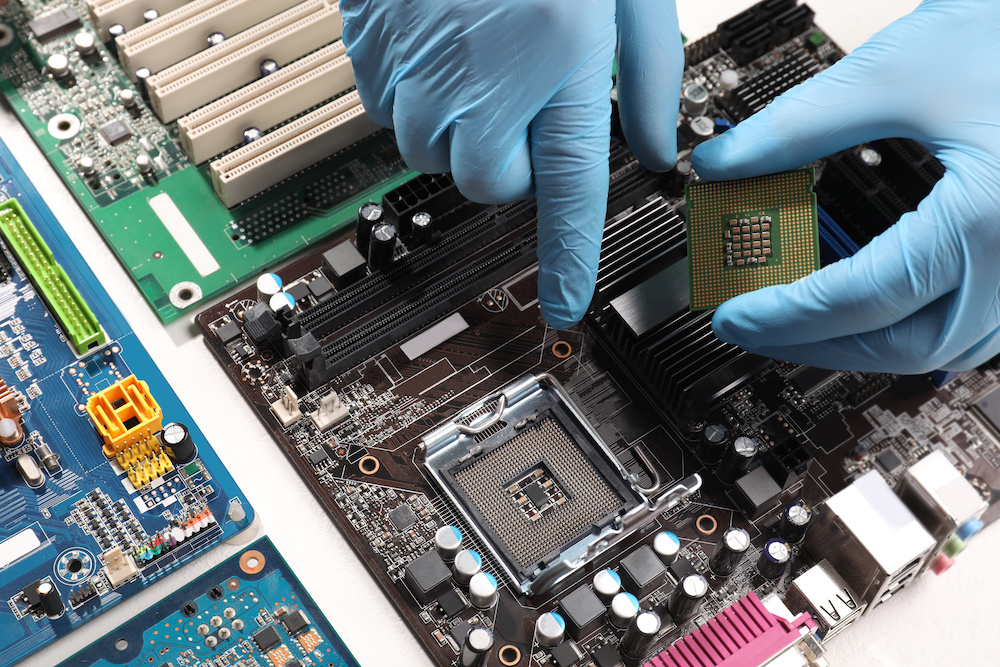
How to Replace Motherboards Step by Step
We can divide motherboard replacement into two parts: removal and installation.
Safety Tips
Before we proceed, consider the following safety tips:
Safety Tip #1
Keep yourself grounded by touching the metal edge of the computer case from time to time.
You can also do this efficiently by holding any metal object attached rigidly into the foundation of your house.
A metal tap, a window grille, or a metal handrail will do.
Safety Tip #2
Avoid generating static electricity that can lead to electrostatic discharge.
Standing, sitting, or moving around on fabric material such as wool and polyester causes friction to generate static electricity.
So work with your feet on wood, stone, or a tiled surface.
Safety Tip #3
If you want to remember where every connection goes, mark the tip of each cable.
You can make labels using a felt tip marker on masking tape if you don’t want to write directly on the cables.
What You Need
Before replacing a motherboard, gather all your tools and prepare an unobstructed, well-lit, and stable worktop.
You’ll need some precision screwdrivers and some cable ties. If you have access to a grounding wrist band and a grounding mat, it is advisable to use them as well.
Electrostatic discharge (ESD) can cause irreparable damage to computer chips such as motherboards, graphics cards, RAM modules, and CPUs.
With grounding options, you are protecting all electronic components from ESD.
Motherboard Removal
Motherboard removal involves severing all connections with other components and removing all obstructions which are simply in the way.
Step #1: Shutdown
Ensure that you disconnect your computer, or any connected peripheral devices, from any power source.
Turn it off, and unplug it from the wall.
Step #2: Remove Cooling Devices
Some system fans, water pumps, reservoir tanks, radiators, and radiator hoses may be blocking access to the motherboard.
Start by removing them first to clear up the computer case interior.
That said, water cooling system removal encompasses a large topic for another discussion.
Step #3: Disconnect Storage and Optical Drives
Disconnect the power connectors and data cables from the hard drives and optical drives.
Step #4: Remove Expansion Cards
Remove all of the expansion cards attached to the expansion slots.
These items include graphics and audio cards, network adapters, TV tuners, and any other items attached to the PCI and PCIe slots.
Expansion cards notch onto the rear of the computer case with screws.
Remove these screws and set them aside in a rigid container for reattachment later.
Unlatch the respective clips from the cards and pull them out of their slots.
Avoid touching the gold conductors on the cards because the oils on your hands will insulate and reduce their conductivity.
Step #5: Remove the RAM
One of the easiest components to remove from the motherboard is the memory module.
To unseat the RAM modules, press down on the tabs or clips at either end of the DIMM slot while holding the module.
Pressing on the tabs will release the modules, but it could also launch them out of the slot.
Step #6: Work on the CPU
With the cooling systems, storage devices, and expansion cards removed, the computer case interior should provide enough moving space for unseating the CPU.
If you retained the CPU fan in Step #2, unplug its power connectors and unscrew it from the motherboard.
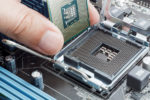
Unseat the CPU from its socket by lifting the locking arm.
The locking arm is typically a lever that spans the side of the CPU.
Lift the CPU without touching and accidentally bending the pins on the socket.
Step #7: Disconnect Power Supply Connector and Remaining Cables
Once you separate the motherboard's primary components, disconnect all power connectors from the power supply unit.
Unlatch the 24-pin main power connector and give it a gentle nudge while pulling on the cable head.
Do the same if a four-pin 12-volt power connector has an attached cable.
Disconnect all remaining data cables, front panel connectors, LED lights, and main power and reset switches.
Step #8: Unscrew Screws and Standoffs
After removing all connections, you can finally remove the motherboard from the computer case.
Unscrew the motherboard’s attachments from the brass standoffs that protect it from shorting.
Motherboard Installation
To change motherboards completely, you have to install the new replacement board.
We have a whole section discussing how to install a motherboard.
Check it out to complete the motherboard replacement process.
RELATED: How To Remove GPU From Motherboard (Guide)
Do You Need to Reinstall Windows After Replacing Motherboards?
If you'll use the same storage device that held your operating system before motherboard replacement, there is no need to reinstall Windows 10.
To make this possible, take a few steps before replacing your motherboard.
The challenging part is getting your operating system to work with your new motherboard after replacement.
This task should be a breeze for owners of a Windows 10 Retail license.
Microsoft designed Windows 10 Retail for reinstallation and reactivation using the same Microsoft Account.
However, computers with Windows 10 OEM and Volume licenses may require reinstallation.
Users of Windows 10 OEM may find it more challenging to re-activate the old existing OS, which may compel them to purchase a new product key.
Conclusion
Once you learn how to replace motherboards, you would have learned how to set up a whole computer.
Since all components attach to the motherboard, its replacement basically involves removing and reattaching everything.
Remember to always check for compatibility so that you can avoid wasting time assembling the wrong parts.

